OneNote - Migration of notebooks between accounts (iOS/iPadOS)
If you had already set up a Microsoft account in the self-service area at UZH and created OneNote notebooks there before the global introduction of Microsoft 365 at UZH, you can no longer easily access this data.
The following documentation is intended to show you a way to migrate these notebooks on an iPad/iPhone (iPadOS/iOS) to your new UZH Microsoft account.
Table of contents
Reset OneNote logon
In this section you log out of your Microsoft account in OneNote.
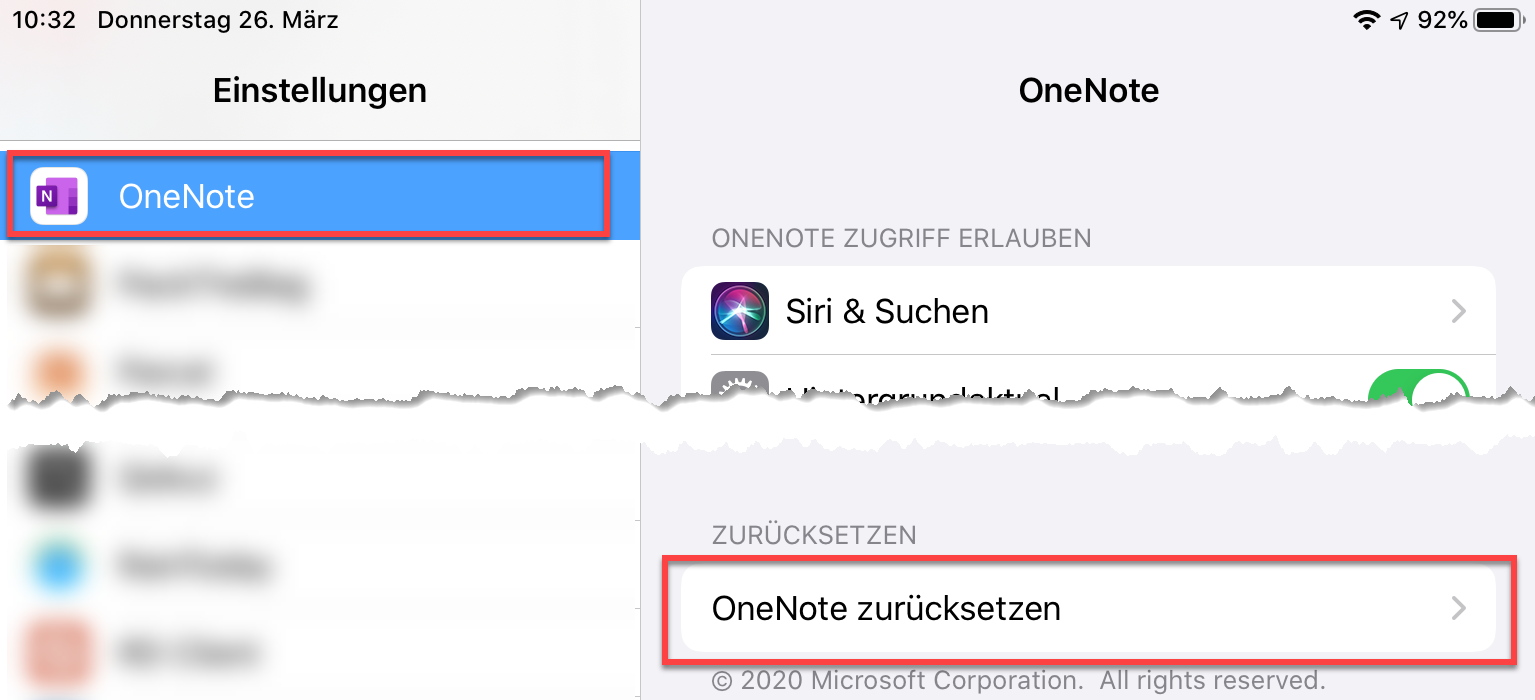
- Open the Settings app on your device and navigate to the OneNote section.
- Tap on "Reset OneNote"
- Only enable the option "Delete credentials".
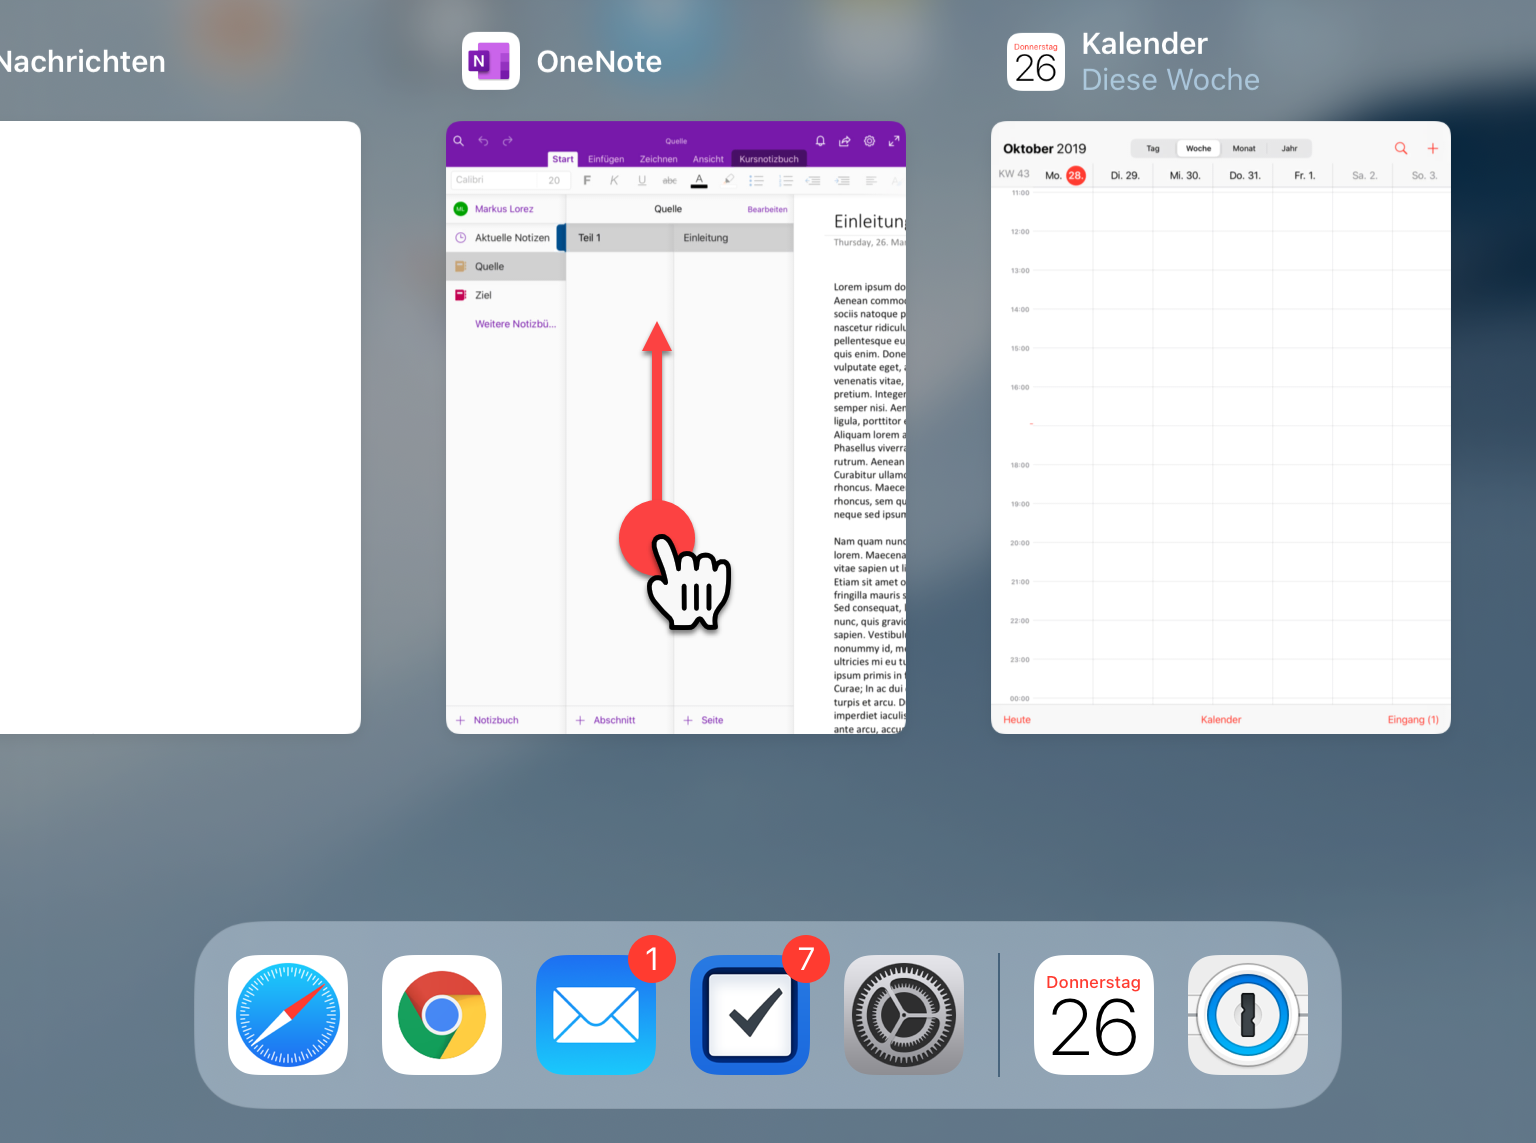
- Press the Home button twice in quick succession and wipe the OneNote "window" upwards to exit OneNote.

Log in to OneNote
In this section, you log in to OneNote with your new Microsoft account.
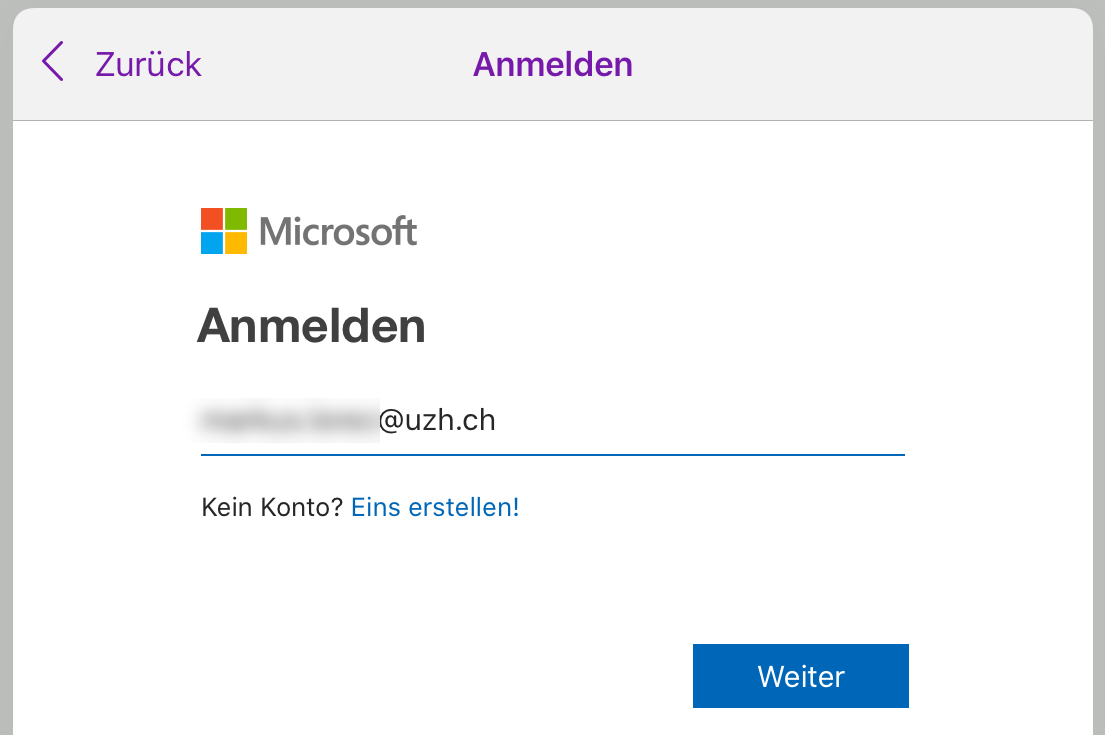
- Open the OneNote app.
- Log in with your new Microsoft account (the username is your UZH mail address).
Connecting your old OneDrive
In this section you connect your old OneDrive, where the source for the copy operation is located.
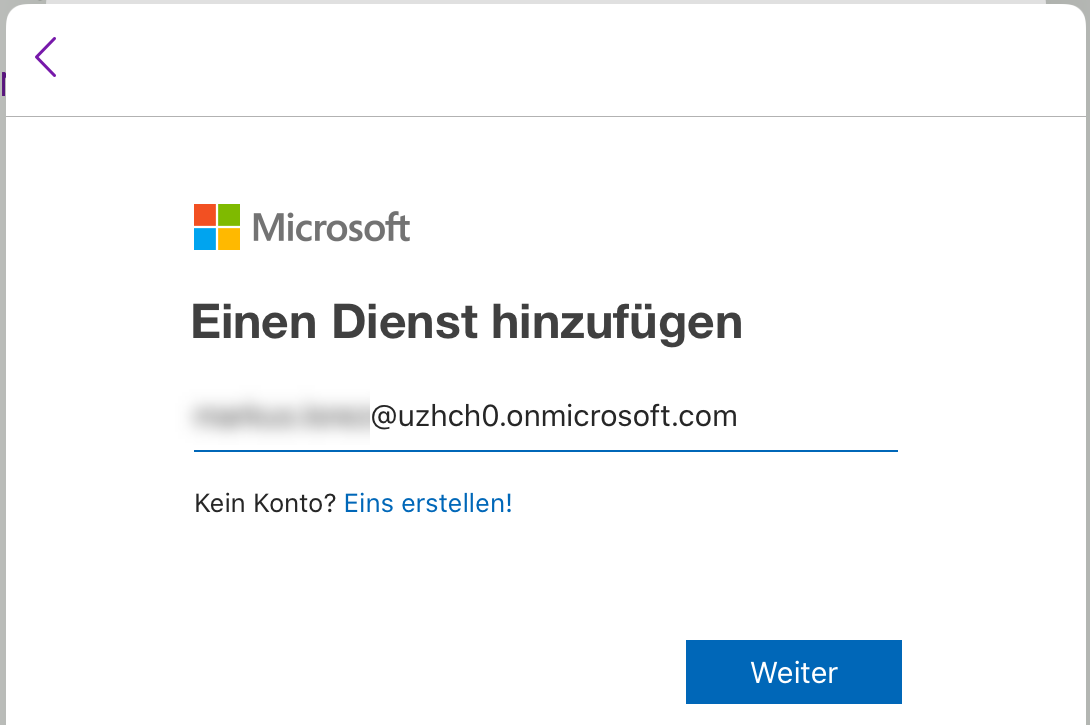
Important: In this section, use your old Microsoft account. This was renamed in the course of the global introduction of Microsoft 365 at the UZH. You received an e-mail around 12 March 2020 informing you of the new name of the old account. It has the form "*@*.onmicrosoft.com" (example: peter.muster@uzhch0.onmicrosoft.com)
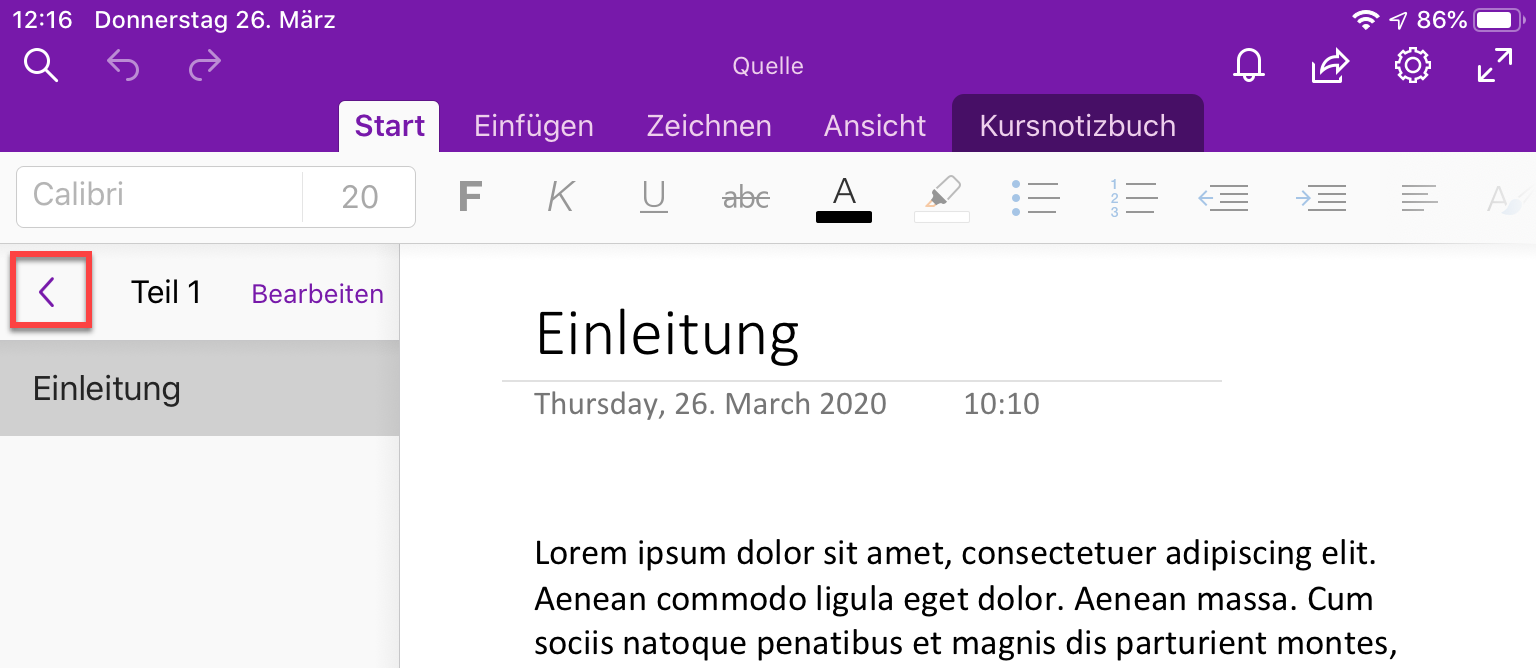
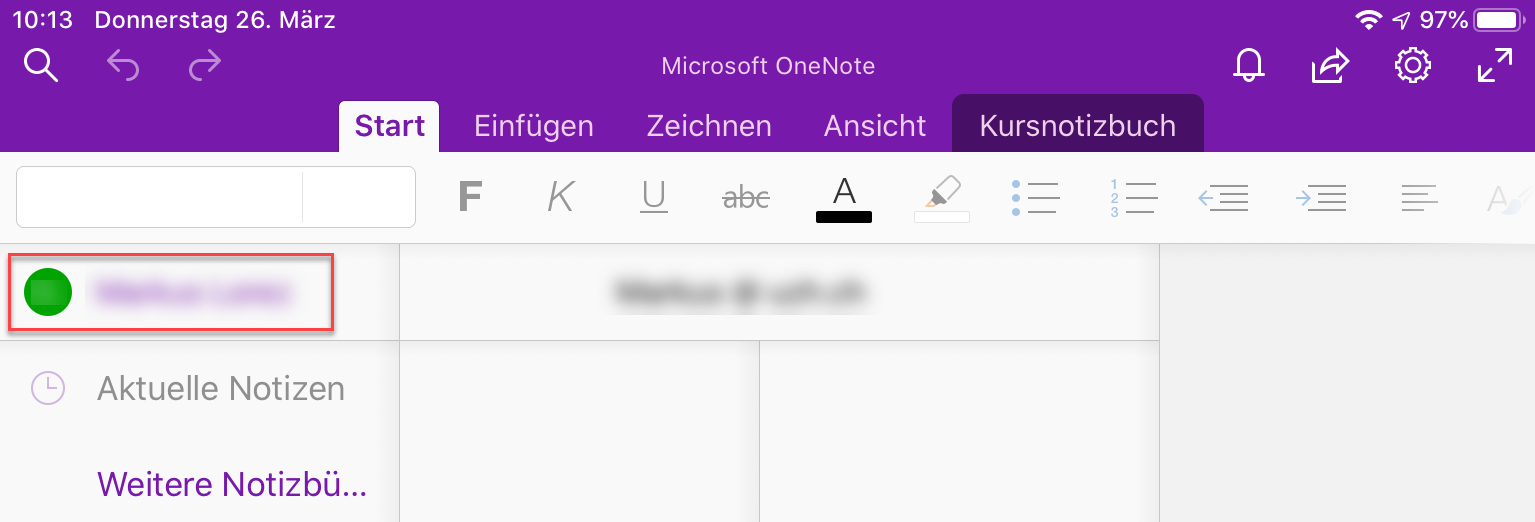
- If the column with the notebooks is not displayed, show it. To do this, tap the left arrow (top left).
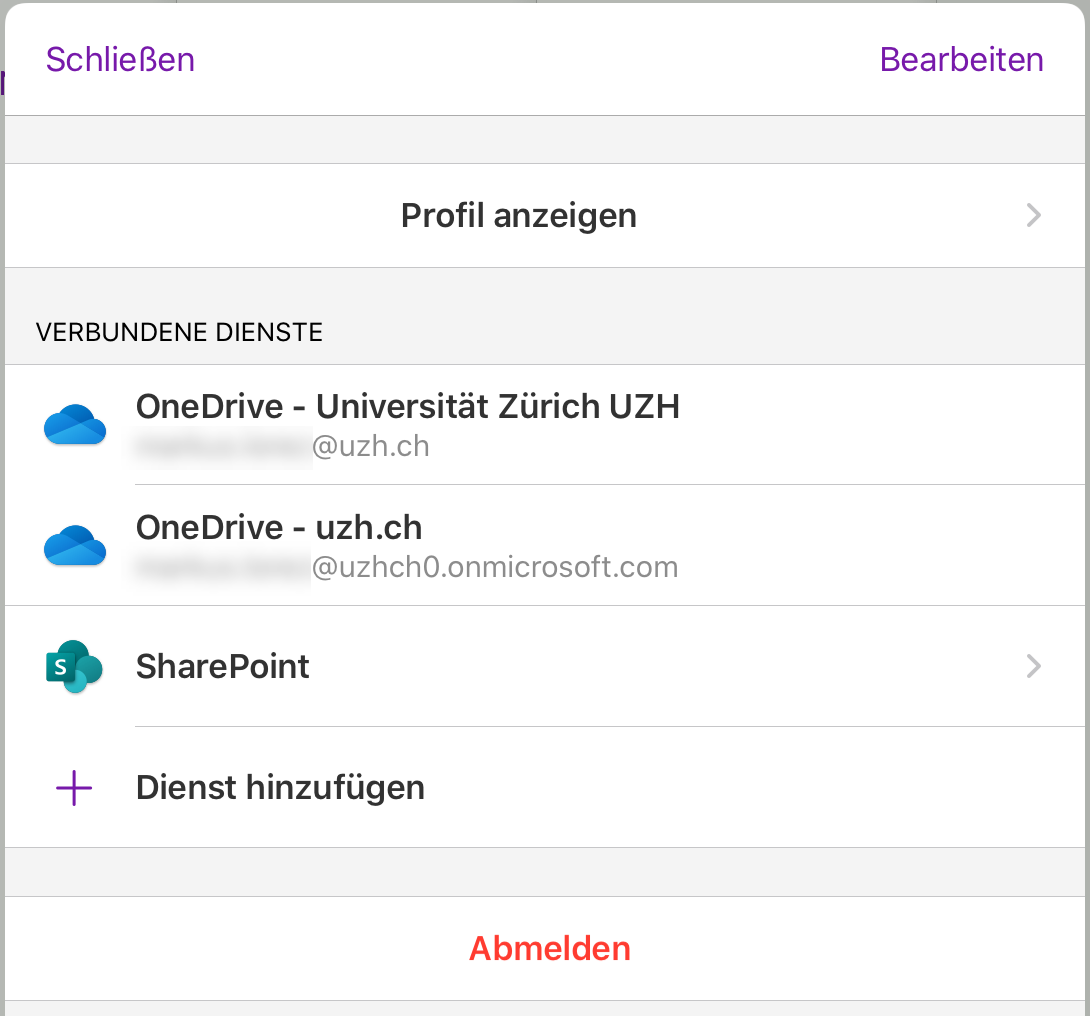
- In OneNote, tap your name in the top left corner.
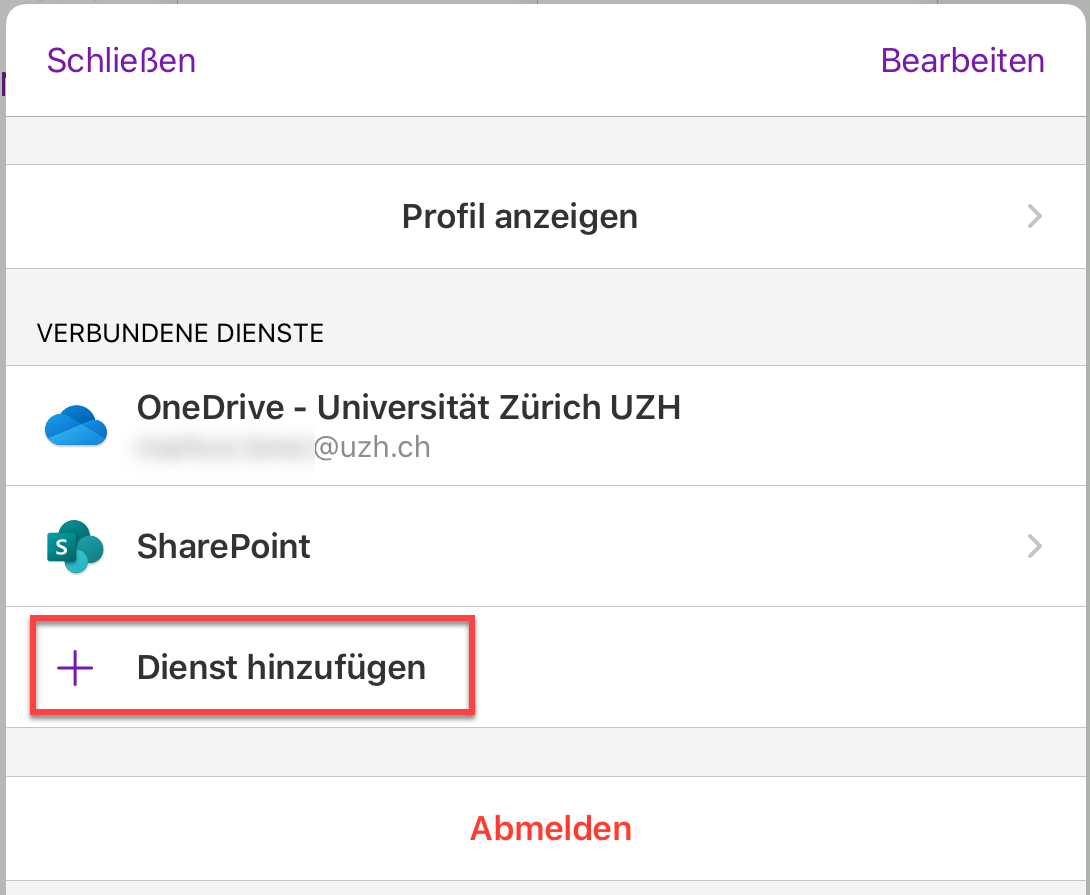
- Tap on "Add Service".
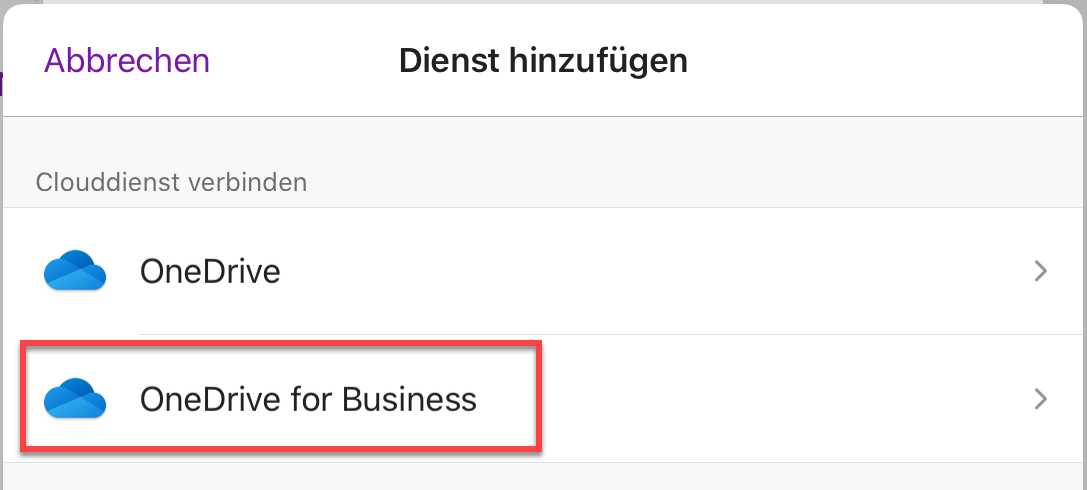
- Select "OneDrive for Business"
- Log in with your old Microsoft account. The user name has the form ...@....onmicrosoft.com (example: peter.muster@uzhch0.onmicrosoft.com), see note at the beginning of this section.
- You have now connected two OneDrives.
Important: Please note closely the different names of the OneDrives for the ongoing procedure:- NEW: "OneDrive - Universität Zürich UZH"
- OLD: "OneDrive - uzh.ch"
Create new notebook
If needed, create a new notebook as described below. This serves as the target for the data migration.
- If the column with the notebooks is not displayed, show it. To do this, tap the left arrow (top left).
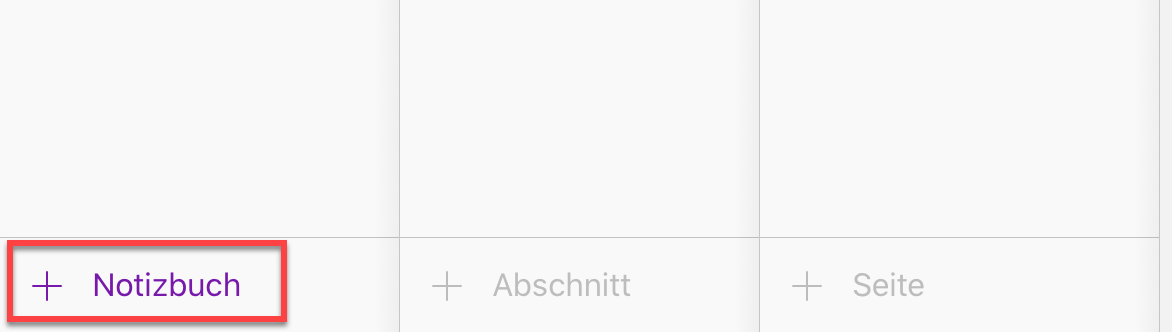
- Tap "+ notebook" at the bottom left.
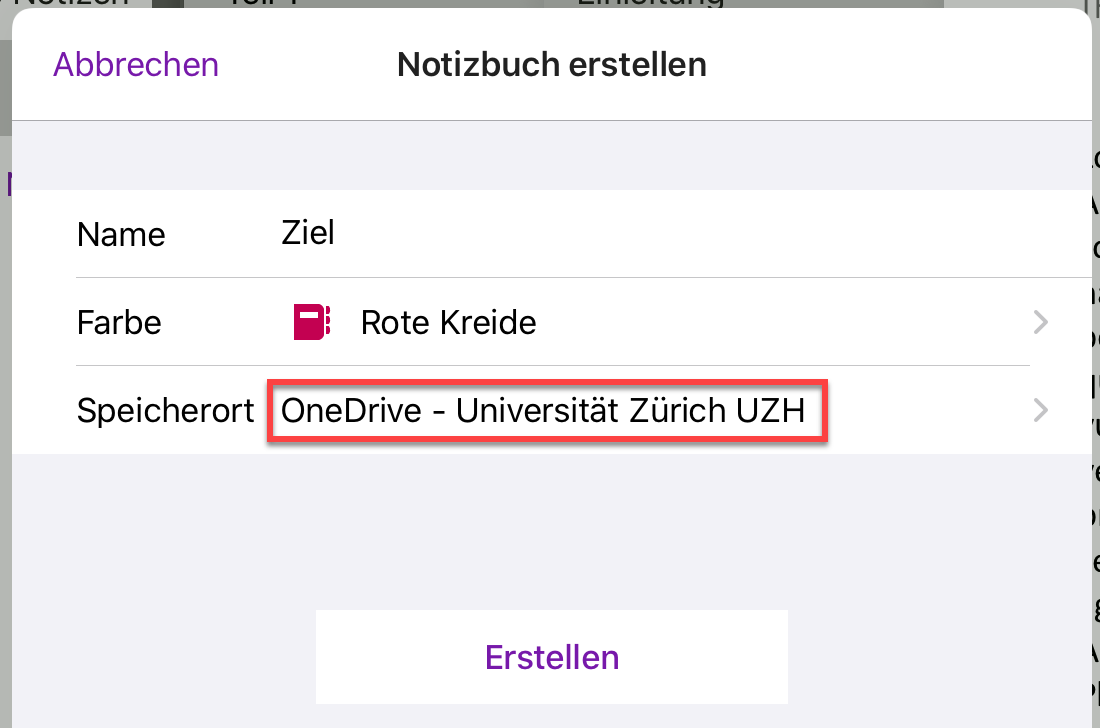
- Name your new notebook and select "OneDrive - University of Zurich UZH" (your new OneDrive) as storage location.
Copying the data
In this part you copy your data section by section from the old notebook to the new one.
- If the column with the notebooks is not displayed, show it. To do this, tap the left arrow (top left).
- Select your old notebook.
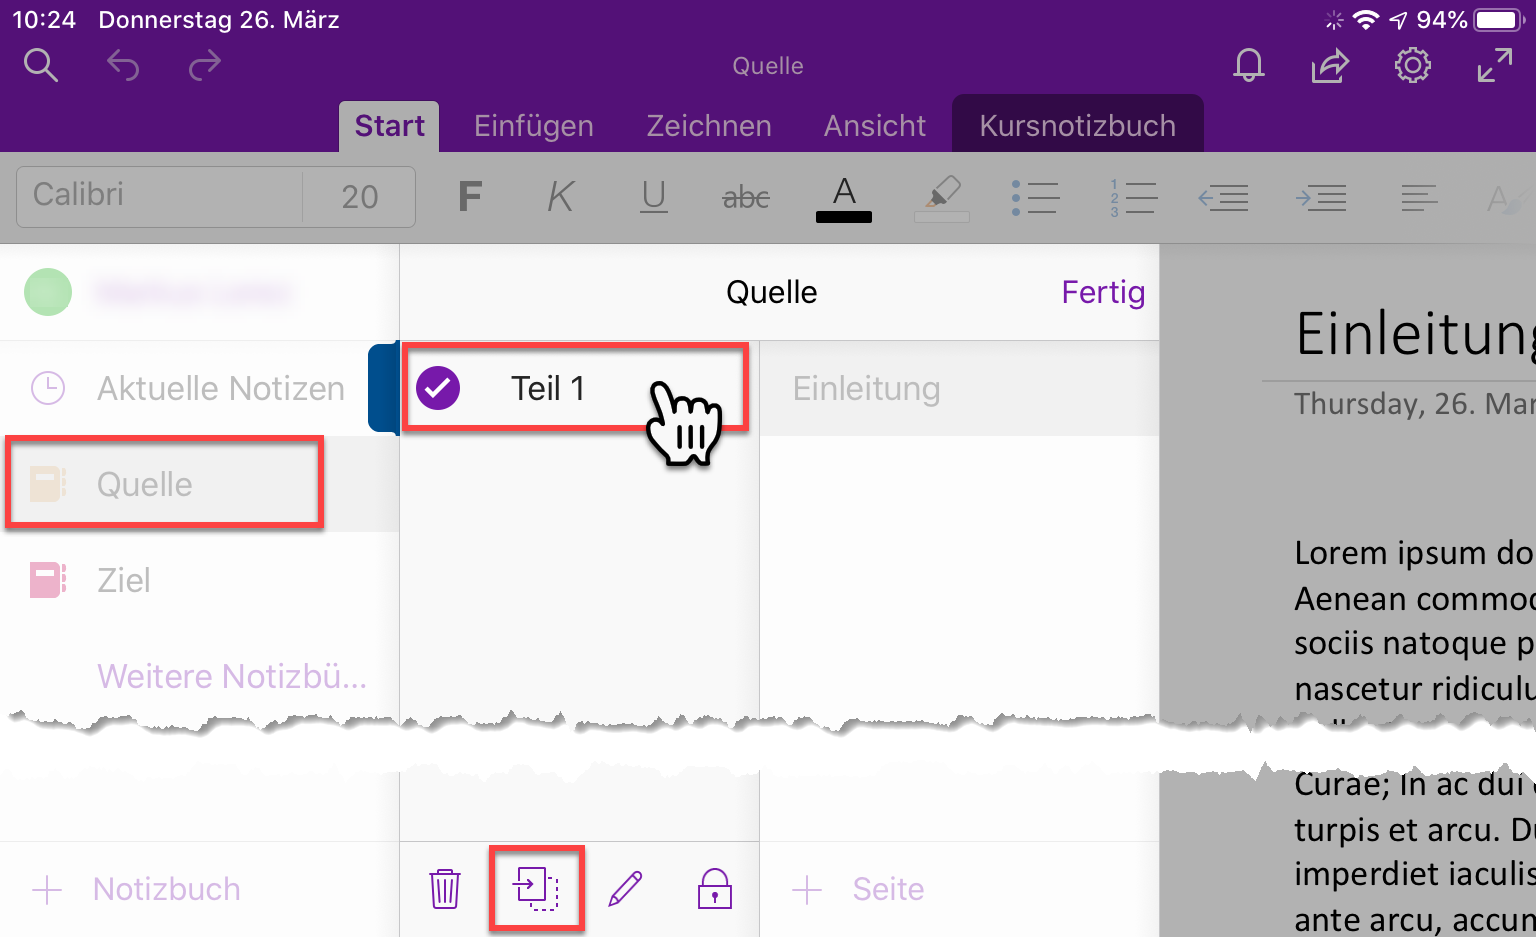
- Tap the first section to be copied for a long time (approx. 2-3 seconds) and tap the copy icon at the bottom of the column.
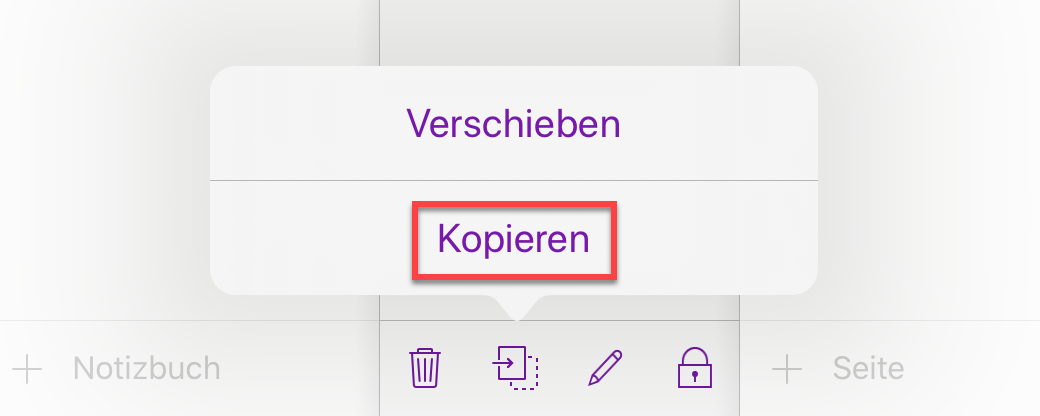
- Select "Copy" from the pop-up menu.
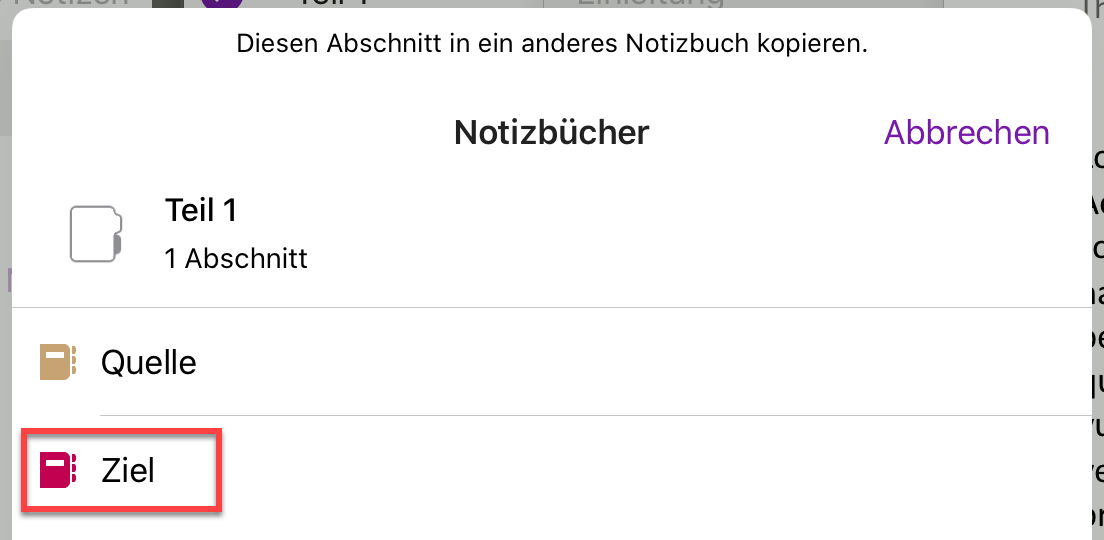
-
Select the new notebook as destination.
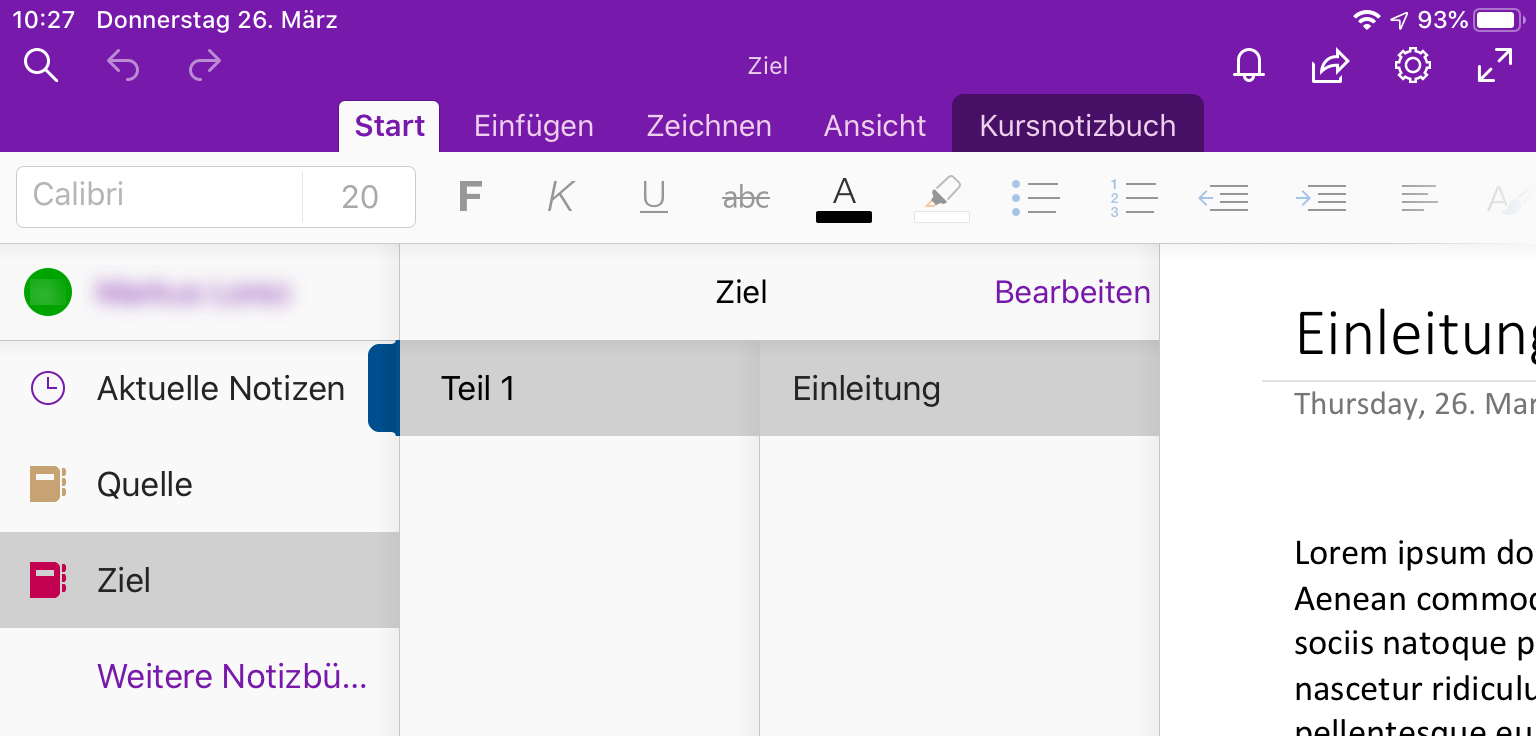
-
You have now copied a first section into your new notebook. Repeat the previous steps for each additional section to be copied.